Homemade ricotta is literally the easiest cheese you can make and the flavour comparison between fresh and store bought is astounding.
In Canada, our milk is pasteurized before it can be sold, which makes it less ideal for traditional cheesemaking. It’s one of the few cheeses you can make at home without needing raw milk, special cultures, or fancy equipment—and it still turns out rich, creamy, and full of flavour. Even with pasteurized milk, you can seperate the ricotta curds with just of acid and heat.
Traditionally, cheesemakers create ricotta from the whey left over after making other cheeses from raw milk. The word ricotta means “recooked.” After seperating the curds from the cheese, whey is left behind that still contains proteins. After allowing the whey to ferment, cheesemakers rapidly heat it to denature the proteins, which then form the soft curds we recognize as ricotta.
🧀 Why Make Your Own Ricotta?
Well yes, you can buy it, but here where I live, a 1 kg tub is typically $11-18 and a small 1 lb tub is $7-9. You can buy a 4L jug of whole milk for about $5 and make 2 lbs of cheese. The value and flavour are big wins!
Aside from the cost, the flavour is so much creamier and fresh compared to the store bought stuff, which I often find to be quite sour tasting in comparison.
Not only can you control the salt content, but no extra additives are required! Just milk, salt, and lemon juice or vinegar. Store-bought ricotta often contains additives to preserve flavour and prolong shelf life.
🍋 Ingredients (and Cookware) Matters
Non-Reactive Cookware
- Use cookware that is non-reactive will not react with acid – i.e. do not use aluminum, copper, tin, or cast iron.
- The most common and best material to use is stainless steel, however enameled surfaces can be used as well.
- Some people use non-stick cookware, but I am weary of using it in any recipes that call for non-reactive, such as canning recipes and cheesemaking.
Fine Sea Salt
- Choose a salt with no additives (aside from iodine, often listed as potassium iodide).
- Some table salt I have purchased in the past contains sugar and cornstarch. This can alter the end product of your cheese, especially if you get into more intense cheesemaking in the future.
- If you can’t find a fine sea salt without additives, use either kosher salt (add about 1/2 tsp more salt) or pickling salt (very expensive).
Milk Processing
- Raw milk, though best for cheesemaking, may not be the best choice here since ricotta is often a secondary cheese product made from raw milk. Feel free to use it here, you will end up with a lot more cheese!
- With pasteurized milk, it’s more difficult to extract cheese once, especially twice from the milk. With using pasteurized, it has been heated to 72°C (161°F) for 15 seconds, then rapidly cooled to 4°C (39°F)1.
- I do not recommend using ultra-high temperature (UHT) pasteurized milk. This milk is heated to 140°C (284°F) for 2–4 seconds, then rapidly cooled to 4°C (39°F)2.
- Once the milk hits that high temperature, the proteins start to behave differently when you heat them again—making it tough to form curds for ricotta
- UHT milk is often shelf-stable, but in Canada, you’ll usually find it in the refrigerated section. It’s especially common in “special” enhanced milks, like high-protein or lactose-free varieties. Manufacturers use UHT pasteurization to dramatically extend the milk’s shelf life.
- Whole milk is the best choice here. The higher fat content means you will yield a rich, flavourful cheese and it yields more than a lower fat milk.
- Higher quality, local milks will be more expensive as well, but make a much tastier (and probably nutrient rich) cheese.
👩🏼🍳 How To Make Homemade Ricotta
Making the Ricotta
Add the milk to a large non-reactive pot. Turn the heat to medium and heat the milk, stirring occasionally, to 200°F.


If you don’t have an instant read thermometer, heat the milk until you just begin to see light “cauldron” bubbling when you stir. Typically this occurs after it has reached 200°F so keep your eyes on the milk. It will smell sweet and begin to steam as it warms up. Do not let it boil as this can denature the protein. This takes me 12-13 minutes on a 17,000 BTU gas stove.


The milk will begin to lightly steam around 160°F, and be very steamy and sweet smelling at 200°F. I recommend getting a thermometer for this.
Once the milk reaches 200°F, remove from the heat. Quickly stir in the white vinegar or lemon juice – it should almost instantly begin to curdle. Stop stirring and let it sit, covered, for 30 minutes.
Straining and Storage


Once the 30 minutes has elapsed, set up a cheesecloth over a strainer. To to keep the whey to use in other recipes (e.g. baking), place the strainer over a very large bowl. Otherwise, drain over the sink.
Scoop the curds slowly into the cheesecloth so it doesn’t fold over itself or overflow. Pour the remainder through the cheesecloth. Go slowly so you don’t spill.


Let the cheese continue to strain and drip for 15-30 minutes depending on how firm you’d like the cheese. When using it for lasagna I like to keep a bit more of the whey. You can even let it continue to strain in the fridge for an hour or two if you’d like firm ricotta.
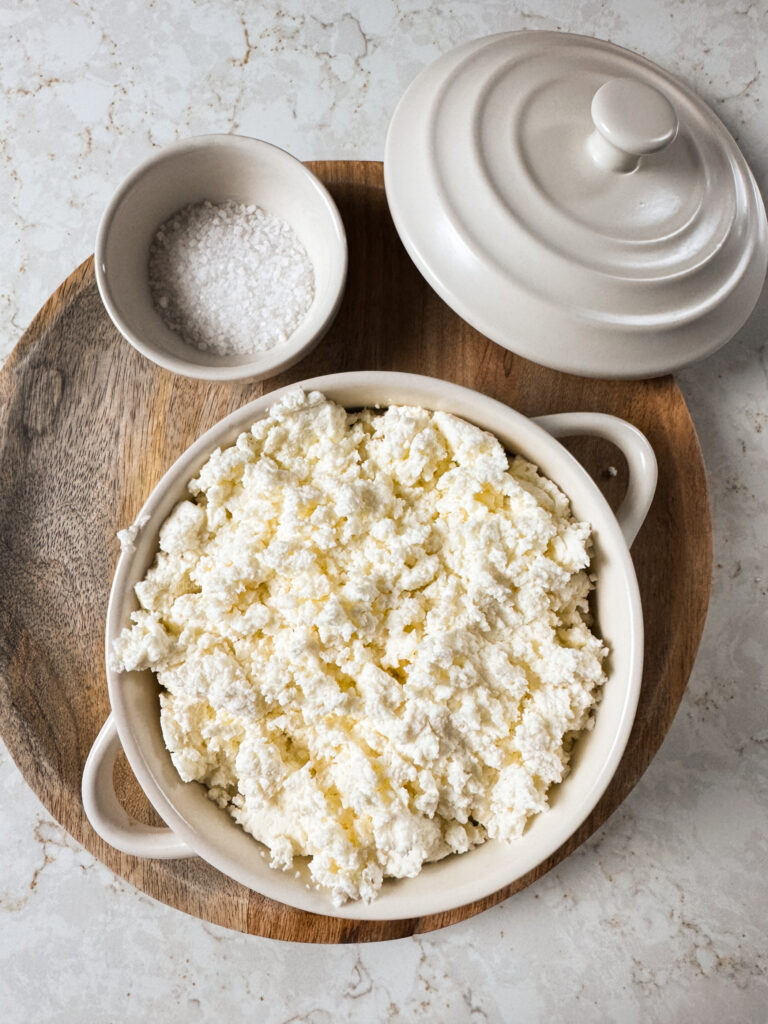
Once done straining, remove the ricotta to a storage container. Turn the cheesecloth inside out and shake gently to remove the remaining curds. Add the salt and stir well. Store in the fridge until ready to use (about 2 days).
If you have a reusable cheesecloth, quickly rinse it in the sink after using before hanging to dry to make it easier to clean.
Storage
Best consumed same day, but should last 2-4 days in the fridge.
Can be frozen and thawed overnight in the fridge in an airtight container.

Easy Homemade Fresh Ricotta
Ingredients
Equipment
Method
- Add the milk to a large non-reactive pot. Turn the heat to medium and heat the milk, stirring occasionally, to 200°F.
- If you don’t have an instant read thermometer, heat the milk until you just begin to see light bubbling cauldron movement in the milk when it’s stirred. Typically this occurs after it has reached 200°F so keep your eyes on the milk. It will begin to smell sweet and begin to steam as it warms up. Do not let it boil. This takes me 12-13 minutes on a 17,000 BTU gas stove.
- Once the milk reaches 200°F, remove from the heat. Quickly stir in the white vinegar or lemon juice – it should almost instantly begin to curdle. Stop stirring and let it sit, covered, for 30 minutes.
- Once the 30 minutes has elapsed, set up a cheesecloth over a strainer. If you want to keep the whey to use in other recipes (e.g. baking), place the strainer over a very large bowl. Otherwise, drain over the sink.
- Scoop the curds slowly into the cheesecloth so it doesn’t fold over itself or overflow, and eventually pour the remainder through the cheesecloth. Go slowly so you don’t spill.
- Let the cheese continue to strain and drip for 15-30 minutes depending on how firm you’d like the cheese. When using it for lasagna I like to keep a bit more of the whey. You can even let it continue to strain in the fridge for an hour or two if you’d like firm ricotta.
- Once done straining, remove the ricotta to a storage container. Turn the cheesecloth inside out and shake gently to remove the remaining curds. Add the salt and stir well. Store in the fridge until ready to use (about 2 days).

This looks good!