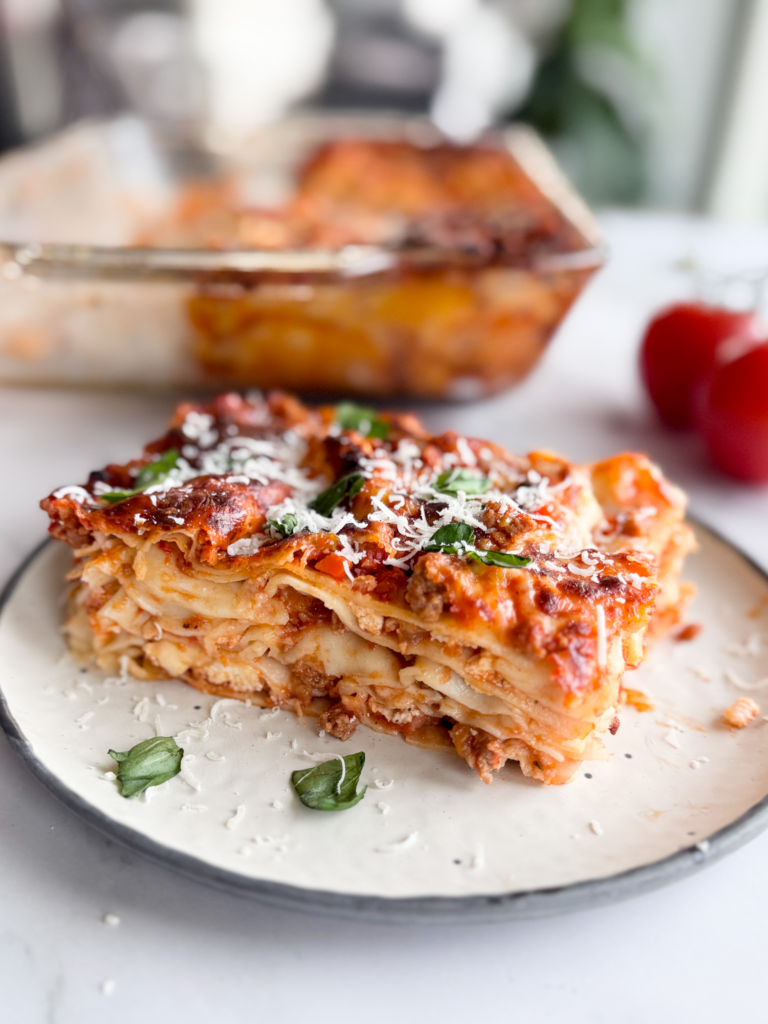
Lasagna Bolognese with Ricotta
This homemade lasagna bolognese is my pride and joy. Made with fresh homemade pasta, ricotta, ragù alla bolognese and stacked over 6 delicious layers. This is how my mom made it growing up – so lets call it the Canadian version of a traditional lasagna bolognese.
This recipe is heavily inspired by my mom. Every once in a while she would slave away in the kitchen for the entire day making sauce from scratch and homemade pasta. She’d often make multiple batches of lasagna to freeze and one for dinner. It was the most delectable thing and fast forward to me as an adult and I cannot imagine eating a lasagna that I didn’t make completely from scratch.
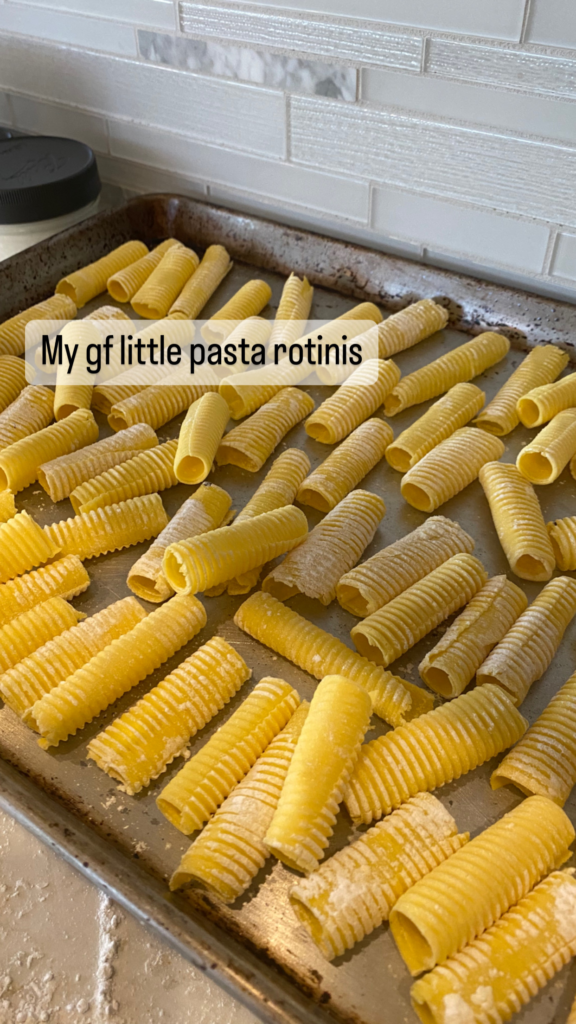
Even when I was vegan, I made everything from scratch. When I couldn’t eat gluten, I made my own gluten-free noodles (which SURPRISINGLY work incredibly well in a fresh lasagna)… just don’t freeze it.
Although using a bechemel sauce is traditional here, my husband prefers this version made with ricotta, and honestly, so do I! It complements the bolognese sauce much better than a bechemel (which tends to overpower the sauce) – but don’t tell the Italians I said that.
I’ve been making some variation of this lasagna for 10 years now through all my phases of vegan, gluten-free, bechemel or ricotta, store bought noodles, etc. This is my tried and true version that I’m so excited to share with you all!
🌾 Gluten-Free Lasagna Instructions
Homemade noodles: Follow The Loopy Whisk‘s guide to homemade gluten-free pasta. It’s absolutely delicious!
Tips for success: When running through the pasta maker, fold and run through the widest setting. Repeat this numerous times until the dough feels quite pliable and like it won’t crumble. Slowly run it through the smaller settings, using gluten-free flour to coat and ensure it doesn’t stick.
Do NOT cook the GF noodles before assembly.
Using dry store-bought: Rizopia makes my favourite! Their gluten-free noodles are affordable and delicious. But do not cook before assembly. Once cooked, they do not reheat well or freeze well – so best to be used in mini lasagnas and make them in small batches.
🧄 Tips for Success
- Divide your filling into 6 so you have enough for each layer. You will need extra mozzarella and sauce for the top layer.
- Prep ahead, make this a multi-day process to reduce the workload on the day you want lasagna. Sometimes I make the ricotta the day before so its one less thing I need to do.
- Use lightly warm sauce, not hot or cold. Cold will take 30-45 minutes longer to bake and hot tends to make the noodles squishy.
- Store bought ricotta is totally fine to use! I just make my own because it’s more affordable and tastier IMO. If this is your first time making lasagna from scratch, I’d skip the homemade ricotta in favour of homemade sauce and noodles.
- Pre-cook your noodles. I never used to, but boy does it make a big difference in the end product! It keeps the lasagna saucy while keeping the noodles firm (not soggy).
⏰ Day of Assembly Timeline
To eat at 6 pm, follow this timeline:
11:00 am – Start the bolognese sauce
12:00 pm – Start the ricotta
2:00 pm – Make the pasta
4:00 pm – Start rolling out the pasta, begin assembly
4:30 pm – Preheat oven
5:00 pm – Lasagna in oven
Preferably, I like to make my bolognese and ricotta the day before. Not only does this improve the flavour, but it makes your aftenoon a whole lot less stressful! Lasagna is a labour of love and shouldn’t be a stress-filled ordeal.
🧑🏼🍳 How to Make Lasagna Bolognese with Ricotta
Making Bolognese Sauce
Start your sauce at 11 am to be eating dinner by 6 pm. The sauce takes 4 hours, then it should cool for at least 30 minutes before assembly. Allowing for 30 minute lasagna “assembly” time means that after 1 hour in the oven, the lasagna is ready at 6.
Here is a link to the FULL guide to make bolognese sauce, as well as a mushroom (vegan/vegetarian) bolognese sauce as well.
You Will Need:
- 2 tbsp butter*
- 1 tbsp olive oil
- ½ medium onion, finely chopped
- 1 medium carrot, peeled and finely chopped
- 2 small celery sticks, finely chopped
- 2 lbs lean or extra-lean ground meat**, beef, turkey, or game meat
- 2 tsp fine sea salt
- 1 ½ cups white wine, or low-sodium broth
- 1 cup milk*
- ¼ tsp freshly ground nutmeg
- 2 (25 oz) cans whole or diced tomatoes, pureed or run through a food mill
- 1 (5.2 oz) can tomato paste
How to Prepare:
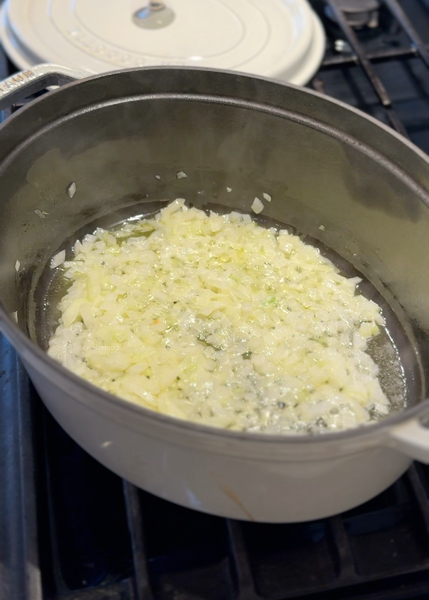
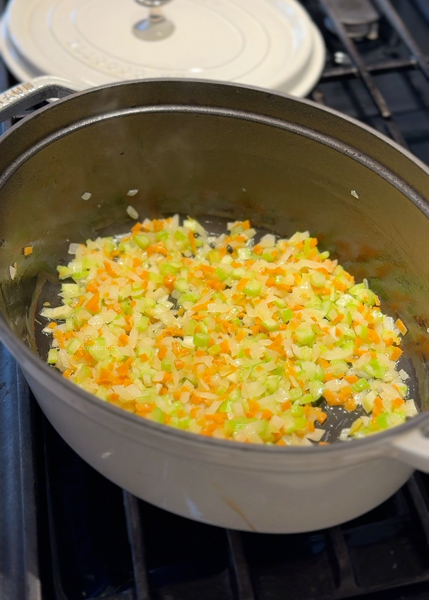
- Preheat a heavy bottom pot over medium-low. Once the pot is hot, melt butter and add olive oil.
- Gently fry the onions for 2 minutes before adding the carrot and celery. Stir occasionally and gently cook for another 4-5 minutes until softened but not browning.
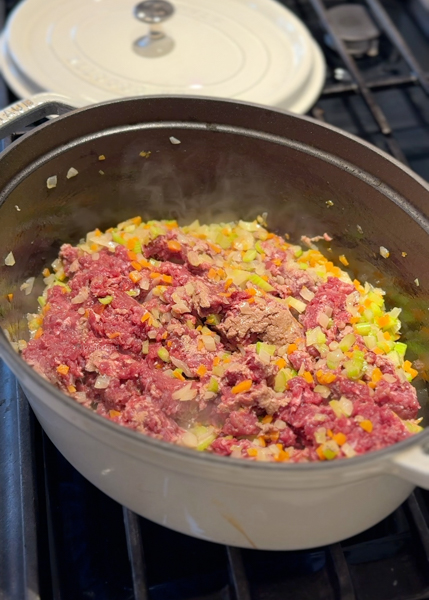
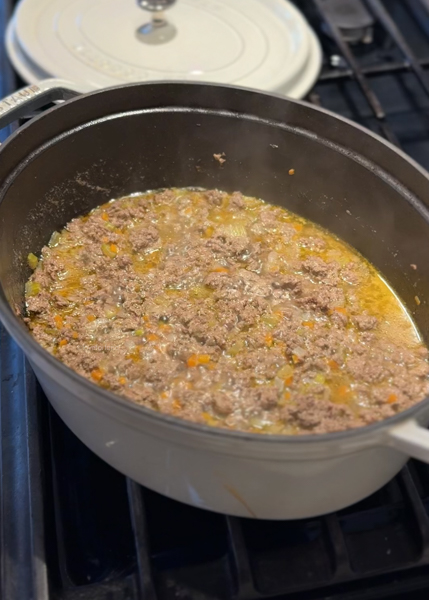
- Now add the ground meat and salt. Break it up with your spatula and turn the heat up to medium to cook the meat almost all the way through, stirring occasionally.
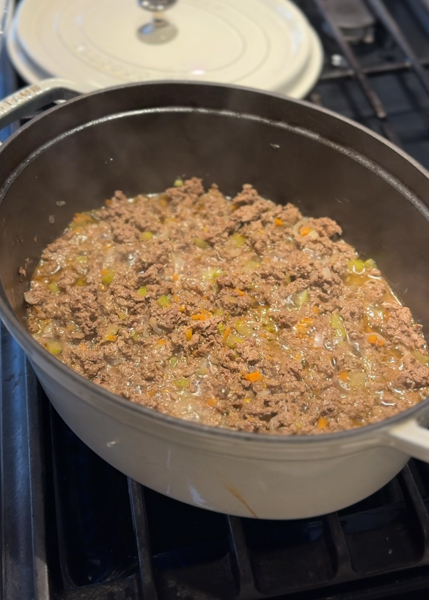
- Once there is very little pink left in the meat, add the wine or broth/stock and turn the heat up to medium high until it begins to simmer. Reduce the heat to medium low and let it simmer for 20 minutes until completely reduced and you can hear the oil sizzling.
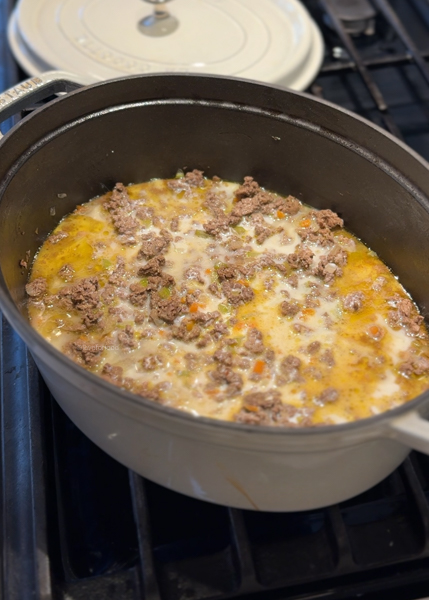
- After the sauce has reduced, add the milk and the fresh nutmeg. Let the milk come to a gentle simmer, then reduce the heat to low and let the sauce reduce for another 15 minutes. Try not to let it boil too vigorously or the milk will separate.
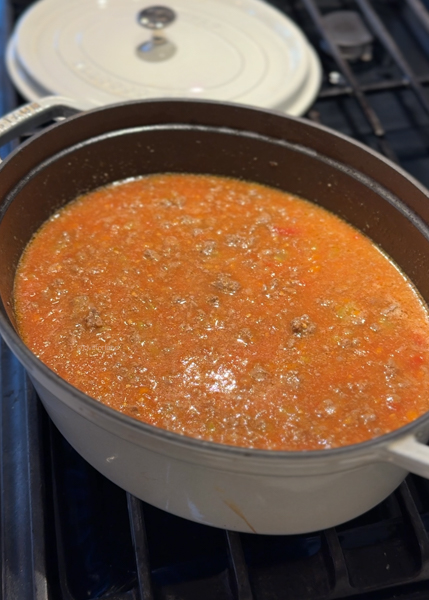
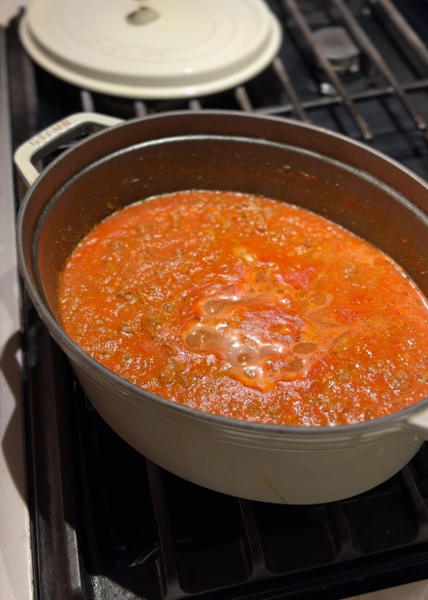
- Now add the tomato puree and the tomato paste. Stir well, then bring the sauce to a gentle simmer. Partially cover the pot with a lid and put it on a low heat burner (if you’re using gas) and let it reduce slowly over the next 3 hours. Stir occasionally.
- After 3 hours, taste and adjust salt.

Once the sauce is done, let it cool until it’s just warm, not hot. If making the day before, refrigerate overnight and warm gently on the stove before using. Assembling lasagna with hot sauce can make the noodles gummy and cold sauce will extend the lasagna cooking time by at least 30 minutes (but recommended if you’re freezing an uncooked lasagna).
Making Fresh Ricotta
Full guide HERE.
You Will Need:
- 2 L whole or 2% milk (not UHTP)
- 1/4 cup white vinegar
- salt to taste
How to Prepare:
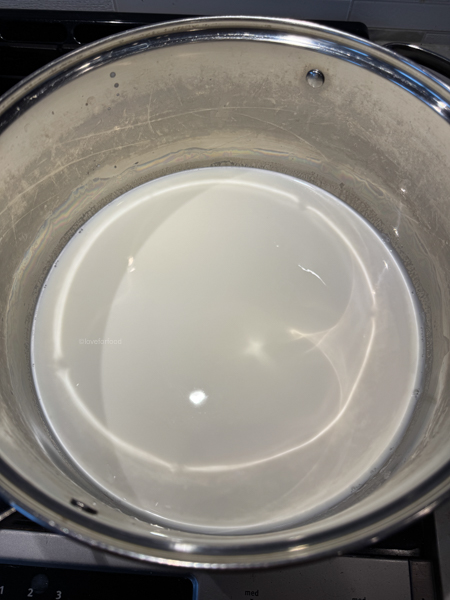
Heat 2 L of milk over medium heat until it reaches 200°F, stirring occasionally to avoid scalding. The milk will start to steam at about 150°F.
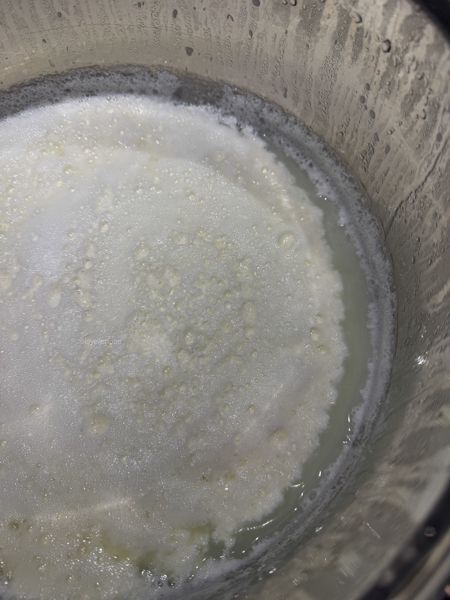
Once 200°F is reached, remove from heat and stir in 1/4 cup white vinegar or lemon juice. Stir briefly to combine and until curds just begin to form. Cover with a lid and set aside for 30 minutes.
Strain cheese curds with a cheesecloth, allowing it to drain for 15 minutes or longer until desired consistency reached. I like it to still have some whey and not be too dry. Add to the fridge until ready to use.

Making Fresh Pasta
Complete FULL GUIDE HERE.
You Will Need:
- 5 large eggs
- 400 g all-purpose flour
- a pinch of salt
How to Prepare:
Place a mound of flour on a clean surface and make a large well in the center. Crack the eggs into the well, optionally add salt, and use a fork to break up the yolks and begin to whisk.


Continue whisking the eggs and slowly pushing in small amounts of flour. Do this slowly to prevent clumps, only adding more as the egg mixture smooths out. After a few minutes of whisking, the egg mixture should be nice and thick.
Using a bench scraper, scrape up the flour and toss over the egg mixture from each side, then “chop” through the egg mixture horizontally and vertically. Begin scraping in a scooping circular motion and folding the dough over itself. Continue doing this until it somewhat comes together into a scraggly mess.


Begin to knead the bits of dough together into a cohesive ball – if you’re having trouble, incorporate 1-2 tbsp of water (before it forms into a ball) to help it come together. You want the dough to be quite firm, so don’t add too much.


Knead for 5-10 minutes until the dough is smooth and supple, and springs back when poked. Wrap the dough in plastic wrap and place it in the fridge for 2 hours before using or leave for 1 hour at room temperature to relax the gluten.


To roll out the pasta, divide it into 6-8 pieces. Cover any that are not being actively rolled out.
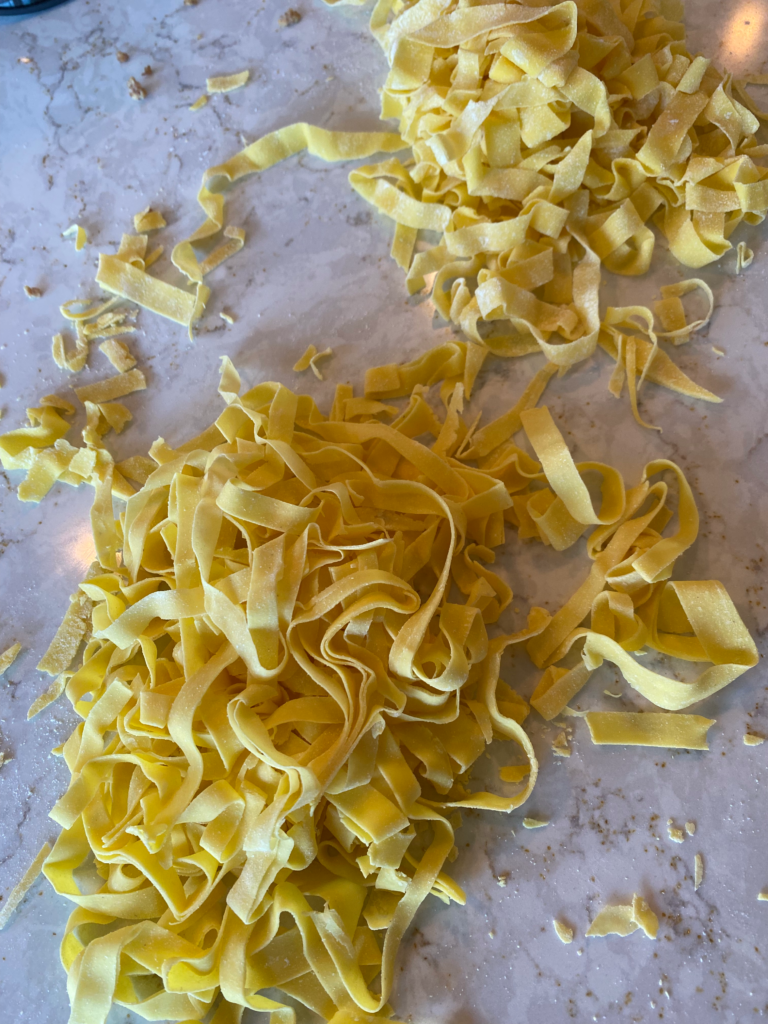
**You will likely have extra pasta, save it and cut into fettuccine noodles and freeze or dry for another time**


Roll the dough to the second thinnest setting.
Bring a large pot of water to a boil and salt well. Cook each noodle 30 seconds then lay out flat to cool/dry on a linen or cotton towel (you don’t want to use a towel that might lose fibers).


Measure the length of your dish that you will be cooking the lasagna in and cut the pasta pieces into appropriate lengths. I like to alternate long to short so there’s no consistent layer gap.
Assembling the Lasagna
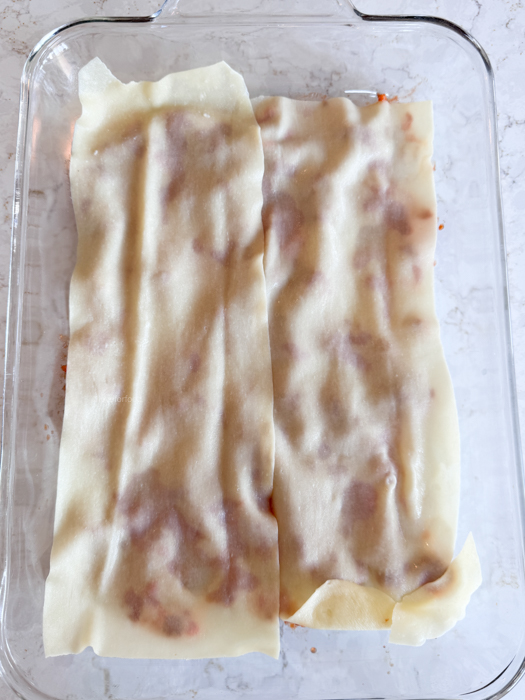
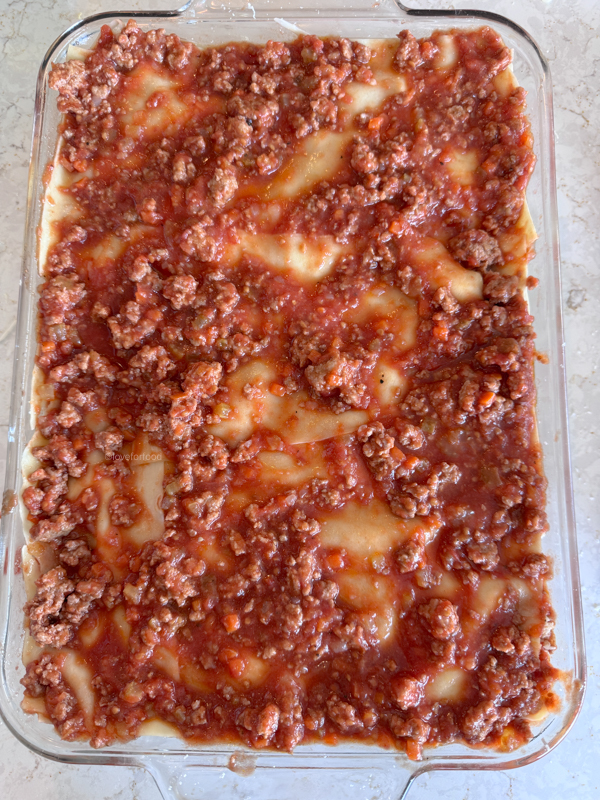
Spread a small amount of bolognese sauce on the bottom of an 11×15″ glass baking dish so the noodles don’t stick. Lay down a single layer of noodles, slightly overlapping where separate sheets are used. From here, each layer will be the same.
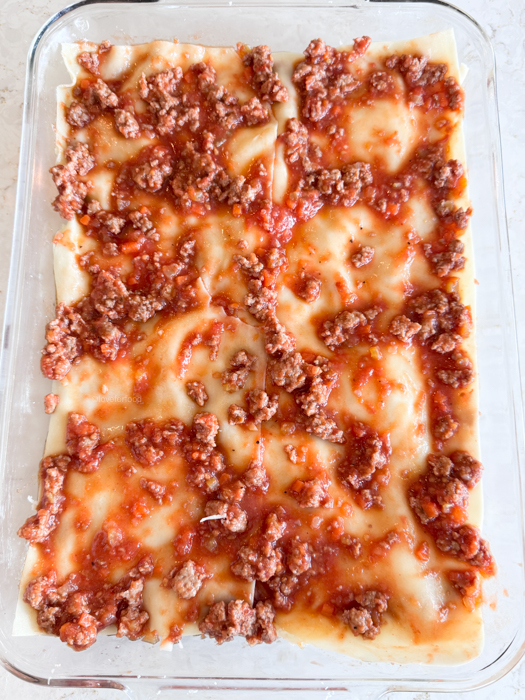
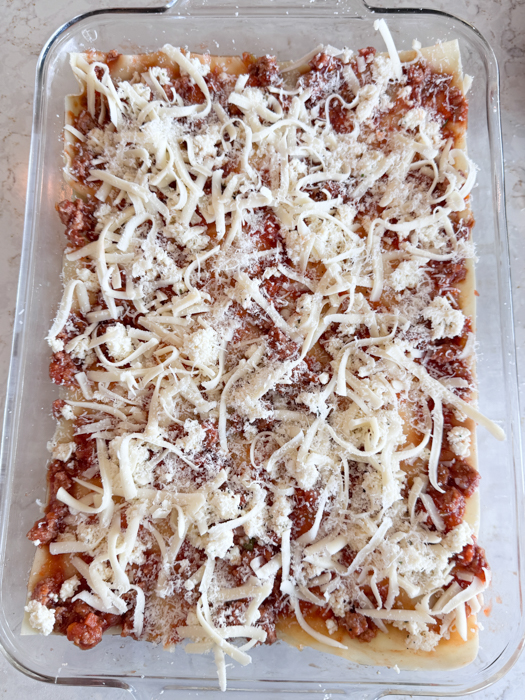
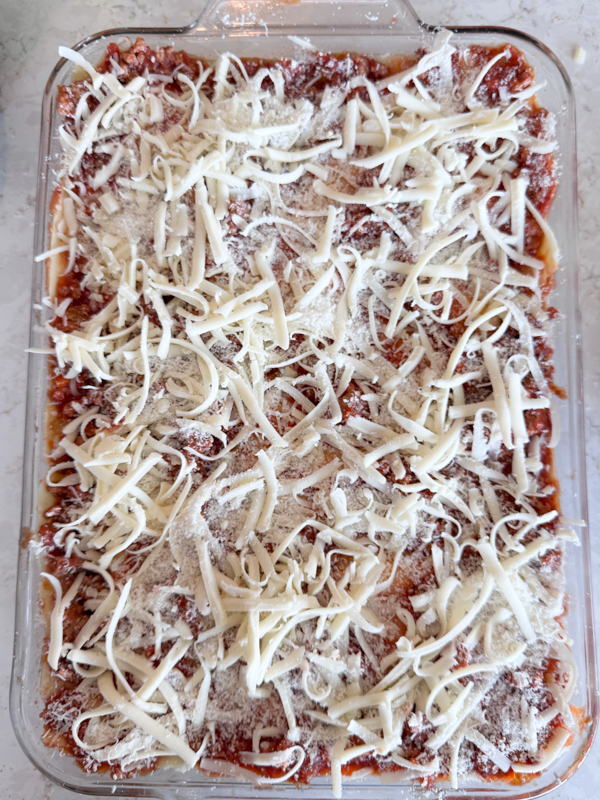
For 4 layers, add 1 cup sauce and spread evenly. Top with ¼ of the ricotta, ⅙ of the mozzarella, and ⅙ of the parmesan. Repeat.
For the final layer you will have no more ricotta. Top the final layer of noodles with 2 cups of sauce and the remainder of the cheese. It should be plenty, but if you used too much in the layers you can grate more cheese.
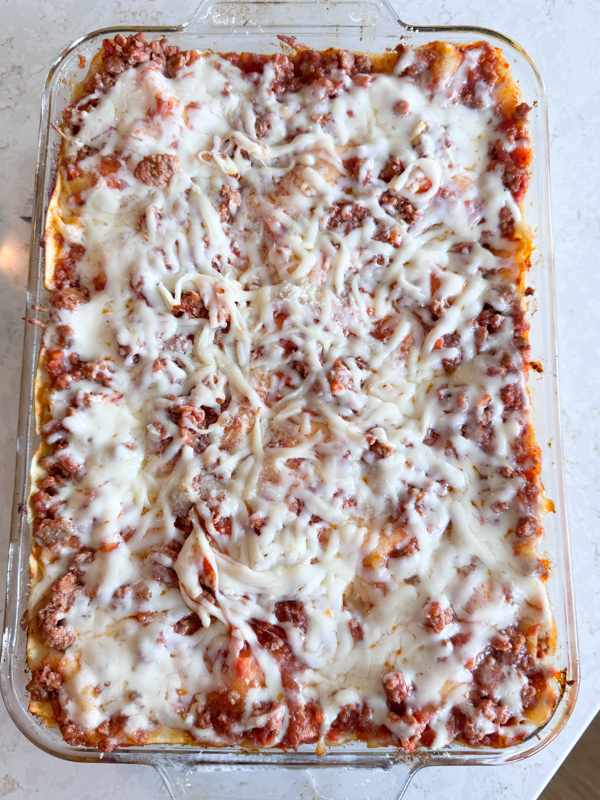
Cover the full pan lightly with tin foil, focusing on not letting the tin foil touch the cheese. It is ready to bake.
Baking the Lasagna
Bake at 375℉ for a total of 1 hour. Bake for 40 minutes, covered with tin foil. Remove the foil and bake for the remaining 20 minutes uncovered.
About 5-10 minutes before the lasagna is ready, the surface will puff up throughout due to steam. Poke it with a knife or a fork a few times to release steam and then continue to bake. If the cheese hasn’t browned to your liking, turn it to broil on high for the last 3-5 minutes of bake time. Keeping an eye on it so it doesn’t burn.
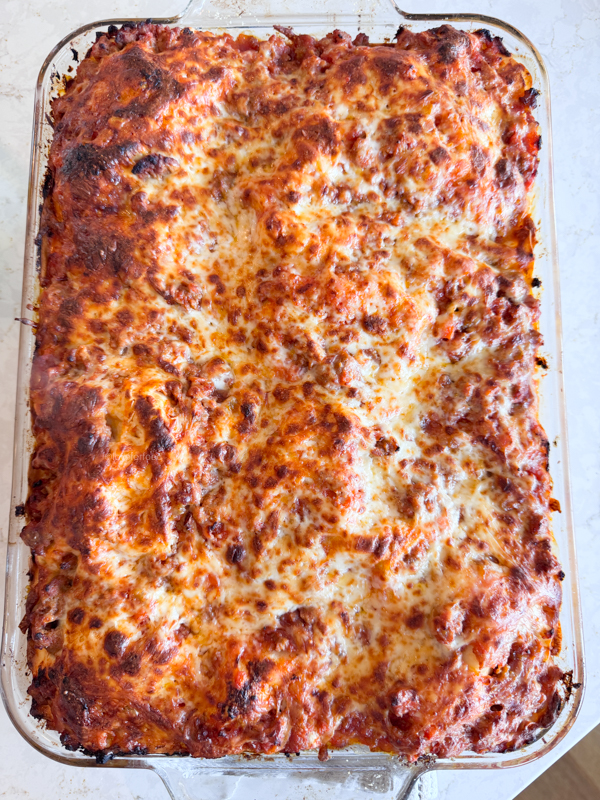
Let it rest for 10 minutes before cutting and serving, it will be very hot. Enjoy!
Looking for Something a Bit Easier?
- 20-Minute Shrimp Pesto Pasta
- Quick and Hearty Minestrone Soup
- 20-Minute Garlic Scape Arrabbiata Sauce

Homemade Lasagna Bolognese with Ricotta
Ingredients
Equipment
Method
- Start your sauce at 11 am to be eating dinner by 6 pm. The sauce takes 4 hours, then it should cool for at least 30 minutes before assembly. Allowing for 30 minute lasagna "assembly" time means that after 1 hour in the oven, the lasagna is ready at 6.
- Once the sauce is done, let it cool until it's just warm, not hot. If making the day before, refrigerate overnight and warm gently on the stove before using. Assembling lasagna with hot sauce can make the noodles gummy and cold sauce will extend the lasagna cooking time by at least 30 minutes (but recommended if you're freezing an uncooked lasagna).
- Follow the linked recipe or use store-bought. I often start this once the bolognese sauce is simmering so there is time to cool the ricotta. Feel free to make this a day ahead.
- Place a mound of flour on a clean surface and make a large well in the center. Crack the eggs into the well, optionally add salt, and use a fork to break up the yolks and begin to whisk.
- Continue whisking the eggs and slowly pushing in small amounts of flour. Do this slowly to prevent clumps, only adding more as the egg mixture smooths out. After a few minutes of whisking, the egg mixture should be nice and thick.
- Using a bench scraper, scrape up the flour and toss over the egg mixture from each side, then "chop" through the egg mixture horizontally and vertically.
- Begin scraping in a scooping circular motion and folding the dough over itself. Continue doing this until it somewhat comes together into a scraggly mess. Once it starts to come together, knead the bits of dough together into a cohesive ball.
- Knead for 5-10 minutes until the dough is smooth and supple, and springs back when poked. Wrap the dough in plastic wrap and place it in the fridge for 2 hours before using or leave for 1 hour at room temperature to relax the gluten.
- Preheat the oven to 375℉ with a rack in the middle and set a large pot of salted water to boil to cook the pasta.
- If your sauce has been made the day before, remove from the fridge and warm it lightly on the stove. You should be able to put your finger in it and not burn yourself.
- Grate the cheeses and make the ricotta mixture by stirring together the ricotta, egg, parsley, basil, salt, and pepper. Set aside.
- Roll out the pasta using a pasta roller machine or attachment for a kitchenaid. Divide the dough into 8 pieces, cover any that is not being actively rolled out. Flour each side well and run through on the widest (1) setting.
- Fold the dough over itself and run through again. Continue doing this a few more times if needed to have an even shape that goes almost edge to edge on your roller. Toss with more flour if needed to prevent sticking.
- Run through each setting twice, adding more flour as you go, until you get to the second last thickness setting (ours is 7). Lay the sheet of pasta on a lightly floured surface and set aside until all the pieces are complete.
- Cook each noodle 30 seconds then lay out flat on a linen or cotton towel (preferably one that doesn't have much lint) to cool and dry.
- Spread a small amount of bolognese sauce on the bottom of an 11×15" glass baking dish so the noodles don't stick. Lay down a single layer of noodles, slightly overlapping where separate sheets are used. From here, each layer will be the same.
- For 4 layers, add 1 cup sauce and spread evenly. Top with ¼ of the ricotta, ⅙ of the mozzarella, and ⅙ of the parmesan. Repeat.
- For the final layer you will have no more ricotta. Top the final layer of noodles with 2 cups of sauce and the remainder of the cheese. It should be plenty, but if you used too much in the layers you can grate more cheese.
- Cover the full pan lightly with tin foil, focusing on not letting the tin foil touch the cheese. It is ready to bake.
- Bake at 375℉ for a total of 1 hour. Bake for 40 minutes, covered with tin foil. Remove the foil and bake for the remaining 20 minutes uncovered.
- About 5-10 minutes before the lasagna is ready, the surface will puff up throughout due to steam. Poke it with a knife or a fork a few times to release steam and then continue to bake.
- If the cheese hasn't browned to your liking, turn it to broil on high for the last 3-5 minutes of bake time. Keeping an eye on it so it doesn't burn.
- Let it rest for 10 minutes before cutting and serving, it will be very hot. Enjoy!