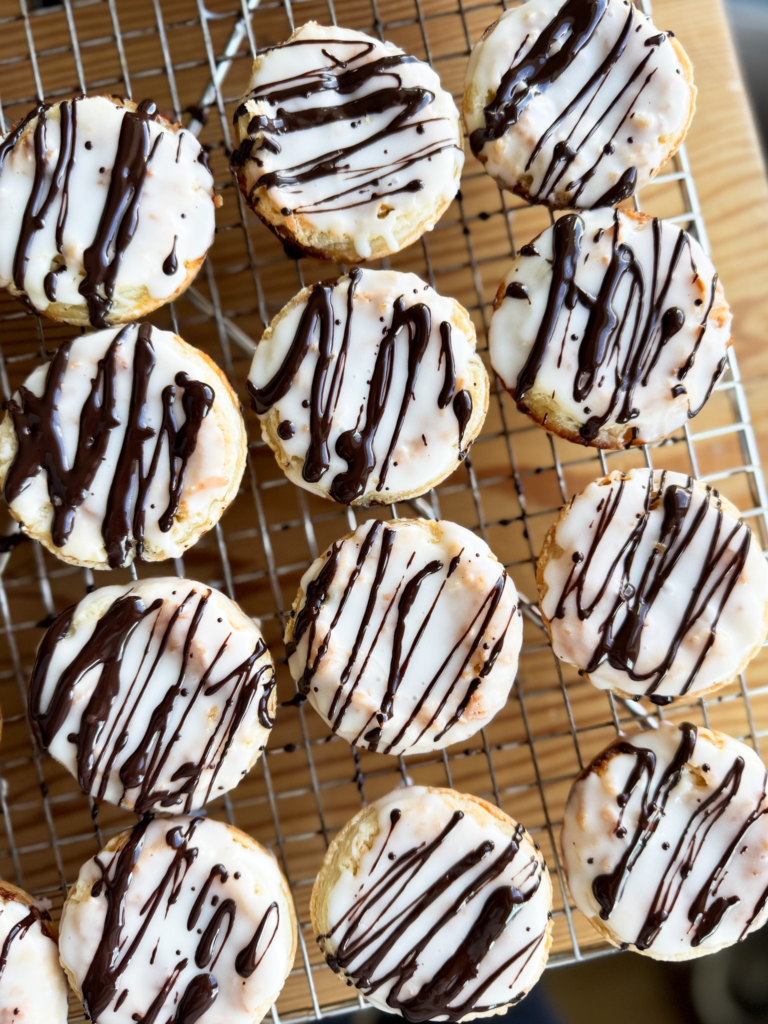
These Raspberry Coconut Tarts are a must have every single Christmas! Growing up my mom made these every single year a month or two in advance of the Holidays and my brother and I would steal all of them from the freezer and eat them. Safe to say, we are obsessed with them. It’s a Christmas tradition. Crispy tarts filled with homemade raspberry jam, soft coconut filling, and topped with almond icing and a drizzle of dark chocolate. They’re divine!
This coconut tart recipe has been passed down a couple of generations (that I know of) and is the number one requested treat each Christmas. Baking these tarts each year is an important Christmas tradition in my family. Even if you don’t like coconut, these tarts will convert you and any coconut hater! I have never met someone who didn’t devour these.
Best served cold!
Tips for Success
- Don’t overfill the tarts – The filling should only reach ¾ up the tart walls since the coconut filling expands as it bakes. If it overflows, it will be difficult to get the tarts out of the tin (especially if the raspberry escapes).
- To elabourate on the last point, spread the coconut filling edge to edge of the tart walls. The raspberry likes to bubble and try to escape, which can lead to sticky, stuck tarts (but still tasty).
- Cut the Tarts ½” (~1 cm) in Diameter Greater than the Tin Top. This will be ¼” (½ cm) around each side – this ensures the tart is about ¾ of the height of the tin walls. It will shrink a bit while cooking.
- Stir the Coconut Filling Often as you fill the tarts. The coconut tends to float while the egg “custard” will remain on the bottom. I like to stir each time I fill a tbsp.
- High Quality Bakers Chocolate matters for the drizzle. Cheaper chocolates tend to have extra ingredients to reduce cost by reducing the amount of cocoa butter and adding fillers, gum, and emulsifiers. The chocolate will be more difficult to drizzle (leading to more waste) and does not result in a dark glossy finish. Soy/sunflower lecithin as an ingredient is okay.

Dietary Substitutions
Vegan
- Use my vegan pie dough recipe for the tarts.
- Substitute flax, chia, or aquafaba (or a combination of 2) for the eggs See my egg subsitution post.
- Vegan butter or even neutral oil (plus a pinch of salt) can be substituted for melted butter.
- Use plant milk in place of milk in icing.
- Check labels on chocolate for vegan – but high quality baking chocolate shouldn’t contain dairy.
Gluten-Free
- Use a gluten-free tart or pie crust recipe (they sub really well here!) I recommend Loopy Whisk’s recipe.
- Check all other ingredients are gluten-free if you haven’t already – most almond extract is gluten-free but individual brands should be verified.
How to Make Raspberry Coconut Tarts

Step 1 – Prep the Tarts
Roll out 1 batch (double crust) of pie dough to 1-2 mm (1/16″) thickness. Use a tart cutter or wide mouth lid/bowl to measure out round pieces of dough 1 cm (⅓-½”) bigger on each side compared to the top of your muffin tin.
Gently press the rounds into the muffin tin gently towards the bottom at the centre then work your way around to eliminate air bubbles, pressing against the sides of the tin. Your dough should reach up at least ¾ of the depth of the tin. Place in the fridge to keep cold while you prep the filling.
Step 2 – Make Coconut Filling
Beat 2 eggs in a bowl until they’re completely homogenous. Whisk in ¾ cup white sugar, 1 tsp cornstarch, and ¼ tsp fine sea salt.
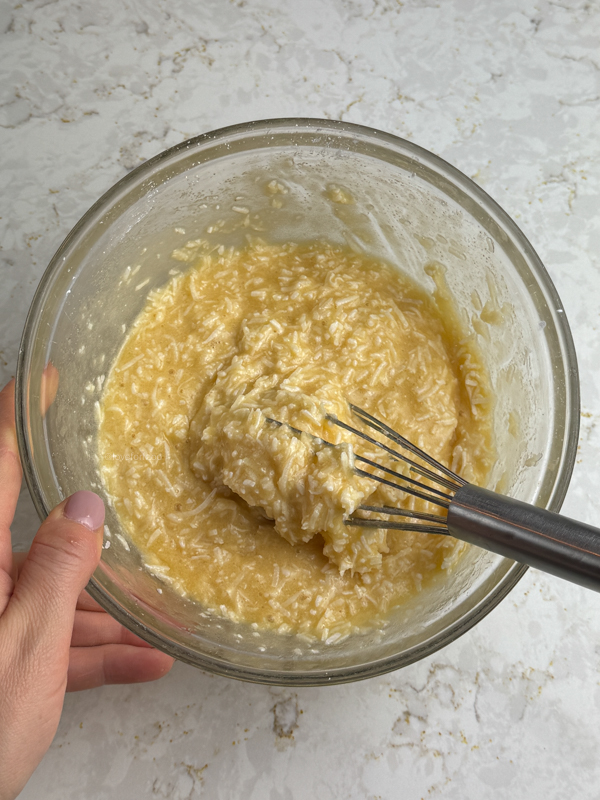
Slowly whisk in ¼ cup melted butter, 1 tbsp lemon juice, and 1 tsp vanilla to temper (hot butter plus cold eggs can cook the eggs if not combined slowly). Stir in 1 ½ cups sweetened shredded coconut and set aside.
Step 3 – Raspberry Filling
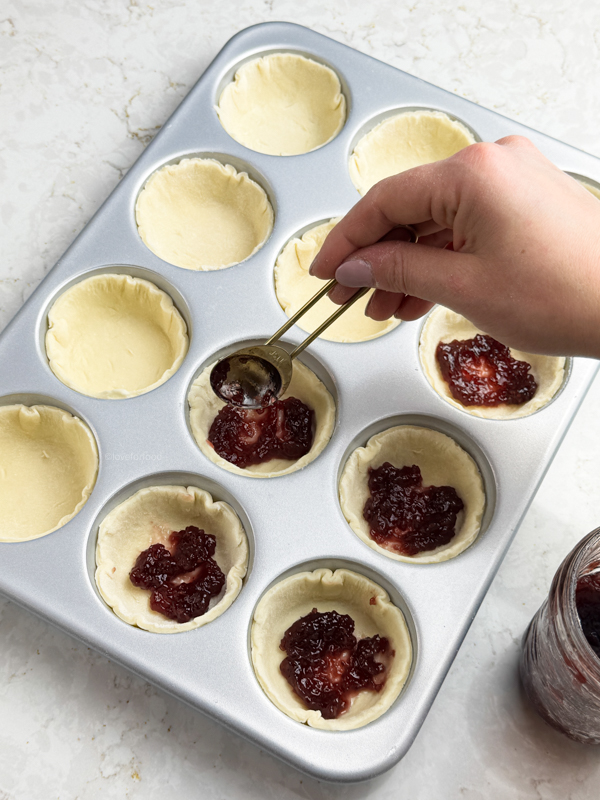
Remove the tarts from the fridge and add a scant 1 tsp of raspberry jam to the bottom of each tart. Spread the jam across the entire bottom of the tart.
Step 4 – Fill the Tarts
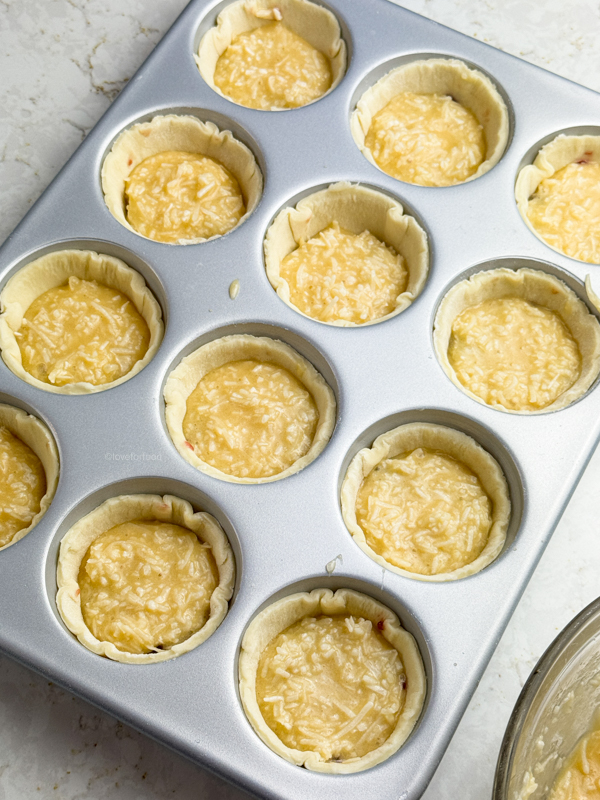
Stir the coconut filling well (it separates) Add 1 tbsp of the coconut filling to each tart, nudging it edge to edge so the jam doesn’t bubble over the sides. The tarts should not be more than 75% full.
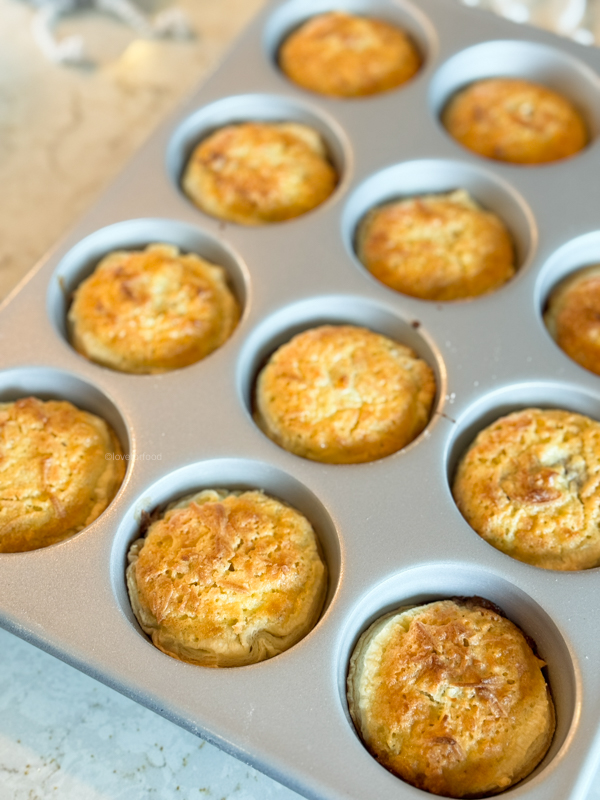
Step 5 – Bake and Cool
Bake at 375°F for 18-25 minutes in the bottom 1/3 of your oven, rotating halfway through. Mine are usually perfect at 20.
Cool for 15 minutes before removing from the tin (gently use a butter knife or thin utensil to nudge the tarts out) and let the tarts cool for at least 1 hour on a wire rack.
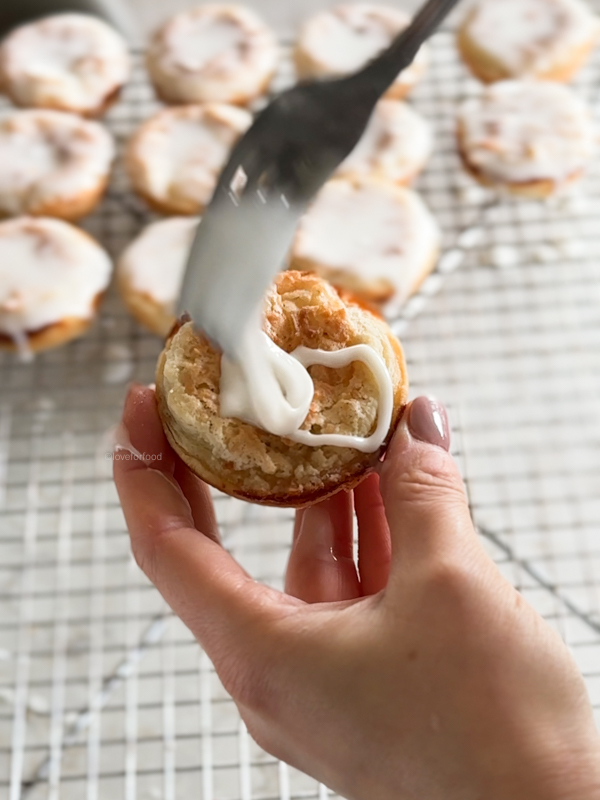
Step 6 – Almond Icing
Once the tarts are cool to touch, mix the icing.
In a small bowl, stir together 2 ½ tsp almond extract with 3 tbsp milk (whole or 2% preferred). Whisk/stir in 1 ¼ – 1 ¾ icing sugar until the consistency is quite thick but still runny. If it completely runs off your tarts and looks too transparent, add more icing sugar.
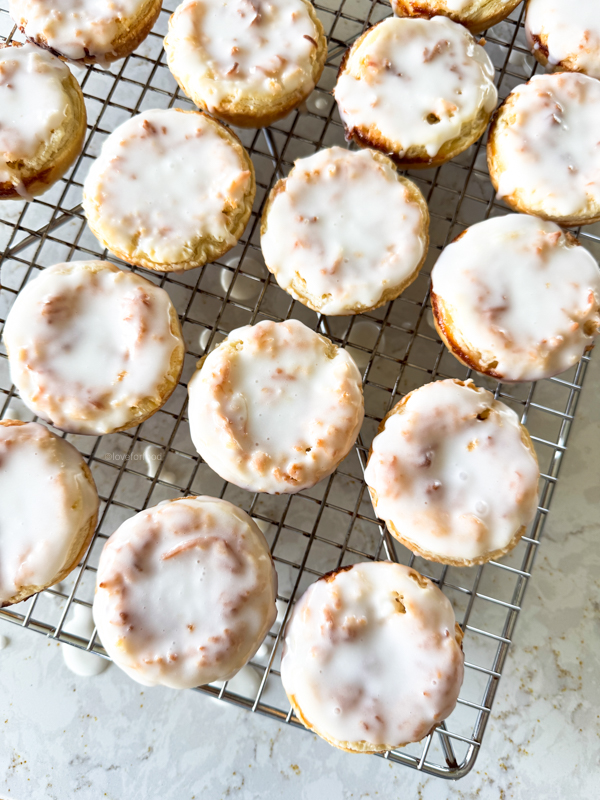
Step 7 – Set Almond Icing
Once the tarts have all been iced, let them sit out and harden for at least 30 minutes. They will not completely harden but should not be sticky and runny.
Once the icing has set you can drizzle the chocolate.
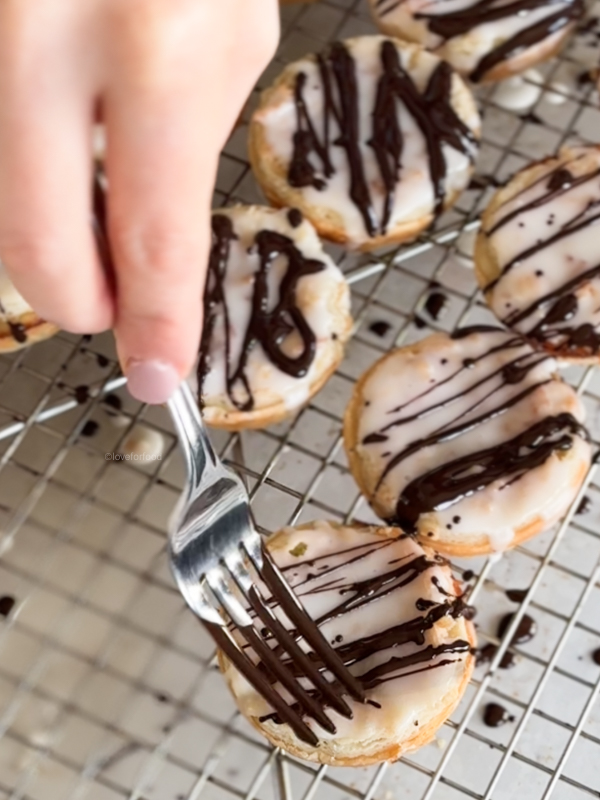
Step 8 – Chocolate Drizzle
Melt 2 squares of unsweetened bakers chocolate (or high quality dark chocolate) in the microwave in short 20 second bursts or on the stove over low, stirring frequently, in a small pot.
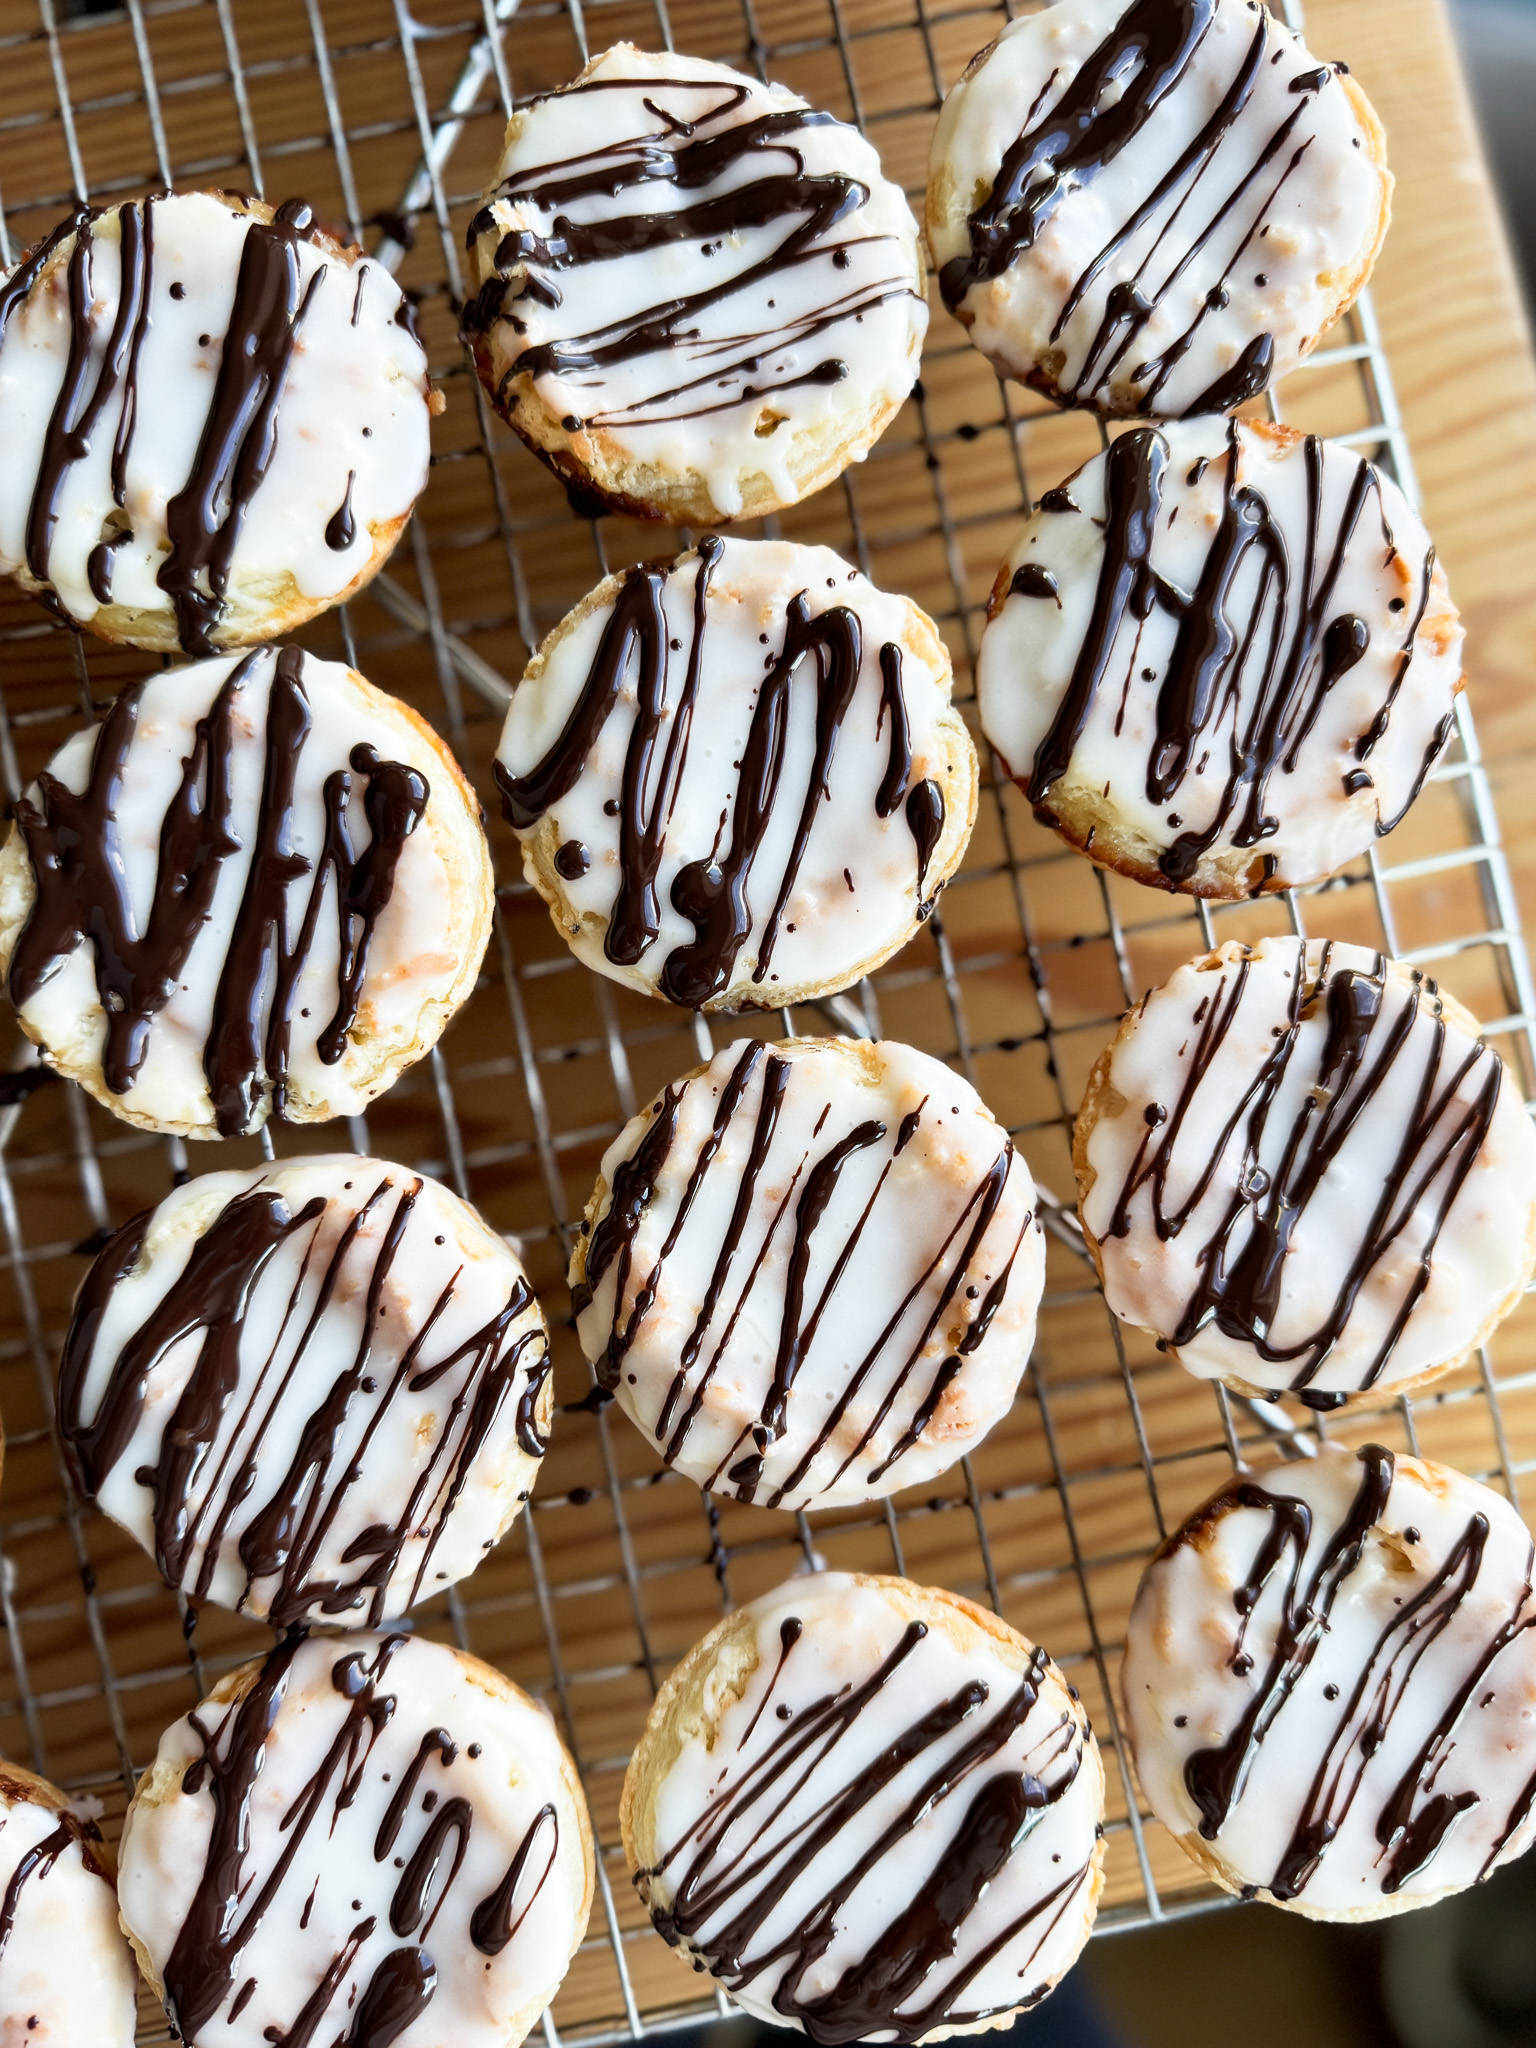
Use a fork, dipped flat side down, then quickly wave it back and forth over the tarts to create the zig zagging pattern. Alternatively you could use a piping tip for perfection.
Raspberry Coconut Tarts
Ingredients
Equipment
Method
- Roll out your pie dough to 1-2 mm (1/16") thickness. Use a tart cutter or wide mouth lid/bowl to measure out round pieces of dough – these should be 1 cm (⅓-½") bigger on each side compared to the top of your muffin tin.
- Gently press the rounds into the muffin tin using two fingers from each hand. Press down gently towards the bottom at the centre then work your way around to eliminate air bubbles, pressing against the sides of the tin. Your dough should reach up at least ¾ of the depth of the muffin tin.
- Once all the tarts are rolled out and in the muffin tins (I do this in batches as I only have one tin), place it and any remaining dough in the fridge to keep chilled.
- Beat eggs in a bowl until they're completely homogenous. Whisk in the sugar, salt, and cornstarch.
- Slowly whisk in the melted butter, lemon juice, and vanilla to temper (hot butter plus cold eggs can cook the eggs if not combined slowly). Stir in the coconut and set aside.
- Remove the tarts from the fridge and add a scant 1 tsp of raspberry jam to the bottom of each tart. Spread the jam across the entire bottom of the tart.
- Stir the coconut filling well (it separates) Add 1 tbsp of the coconut filling to each tart, nudging it edge to edge so the jam doesn't bubble over the sides. The tarts should not be more than 75% full.
- Bake at 375°F for 18-25 minutes in the bottom 1/3 of your oven, rotating halfway through. Mine are usually perfect at 20.
- Cool for 15 minutes before removing from the tin (gently use a butter knife or thin utensil to nudge the tarts out) and let the tarts cool for at least 1 hour on a wire rack.
- Once the tarts are cool to touch, mix the icing. In a small bowl, stir together the almond extract with the milk (whole or 2% preferred). Whisk/stir in the icing sugar until the consistency is quite thick but still runny. If it completely runs off your tarts and looks too transparent, add more icing sugar.
- Once the tarts have all been iced, let them sit out and harden for at least 30 minutes. They will not completely harden but should not be sticky and runny.
- Once the icing has set, melt 2 squares of unsweetened bakers chocolate (or high quality dark chocolate) in the microwave in short 20 second bursts or on the stove over low, stirring frequently, in a small pot.
- Use a fork, dipped flat side down, then quickly wave it back and forth over the tarts to create the zig zagging pattern. Alternatively you could use a piping tip for perfection, but they all taste the same.
- Enjoy at room temperature, refrigerated, or frozen (my favourite!). They are best served cold. Store in a sealed container in the freezer for up to 8 months and thaw a few on a plate for an hour or two before serving, if desired.

Recent Comments